Hot Tub Repair Advice
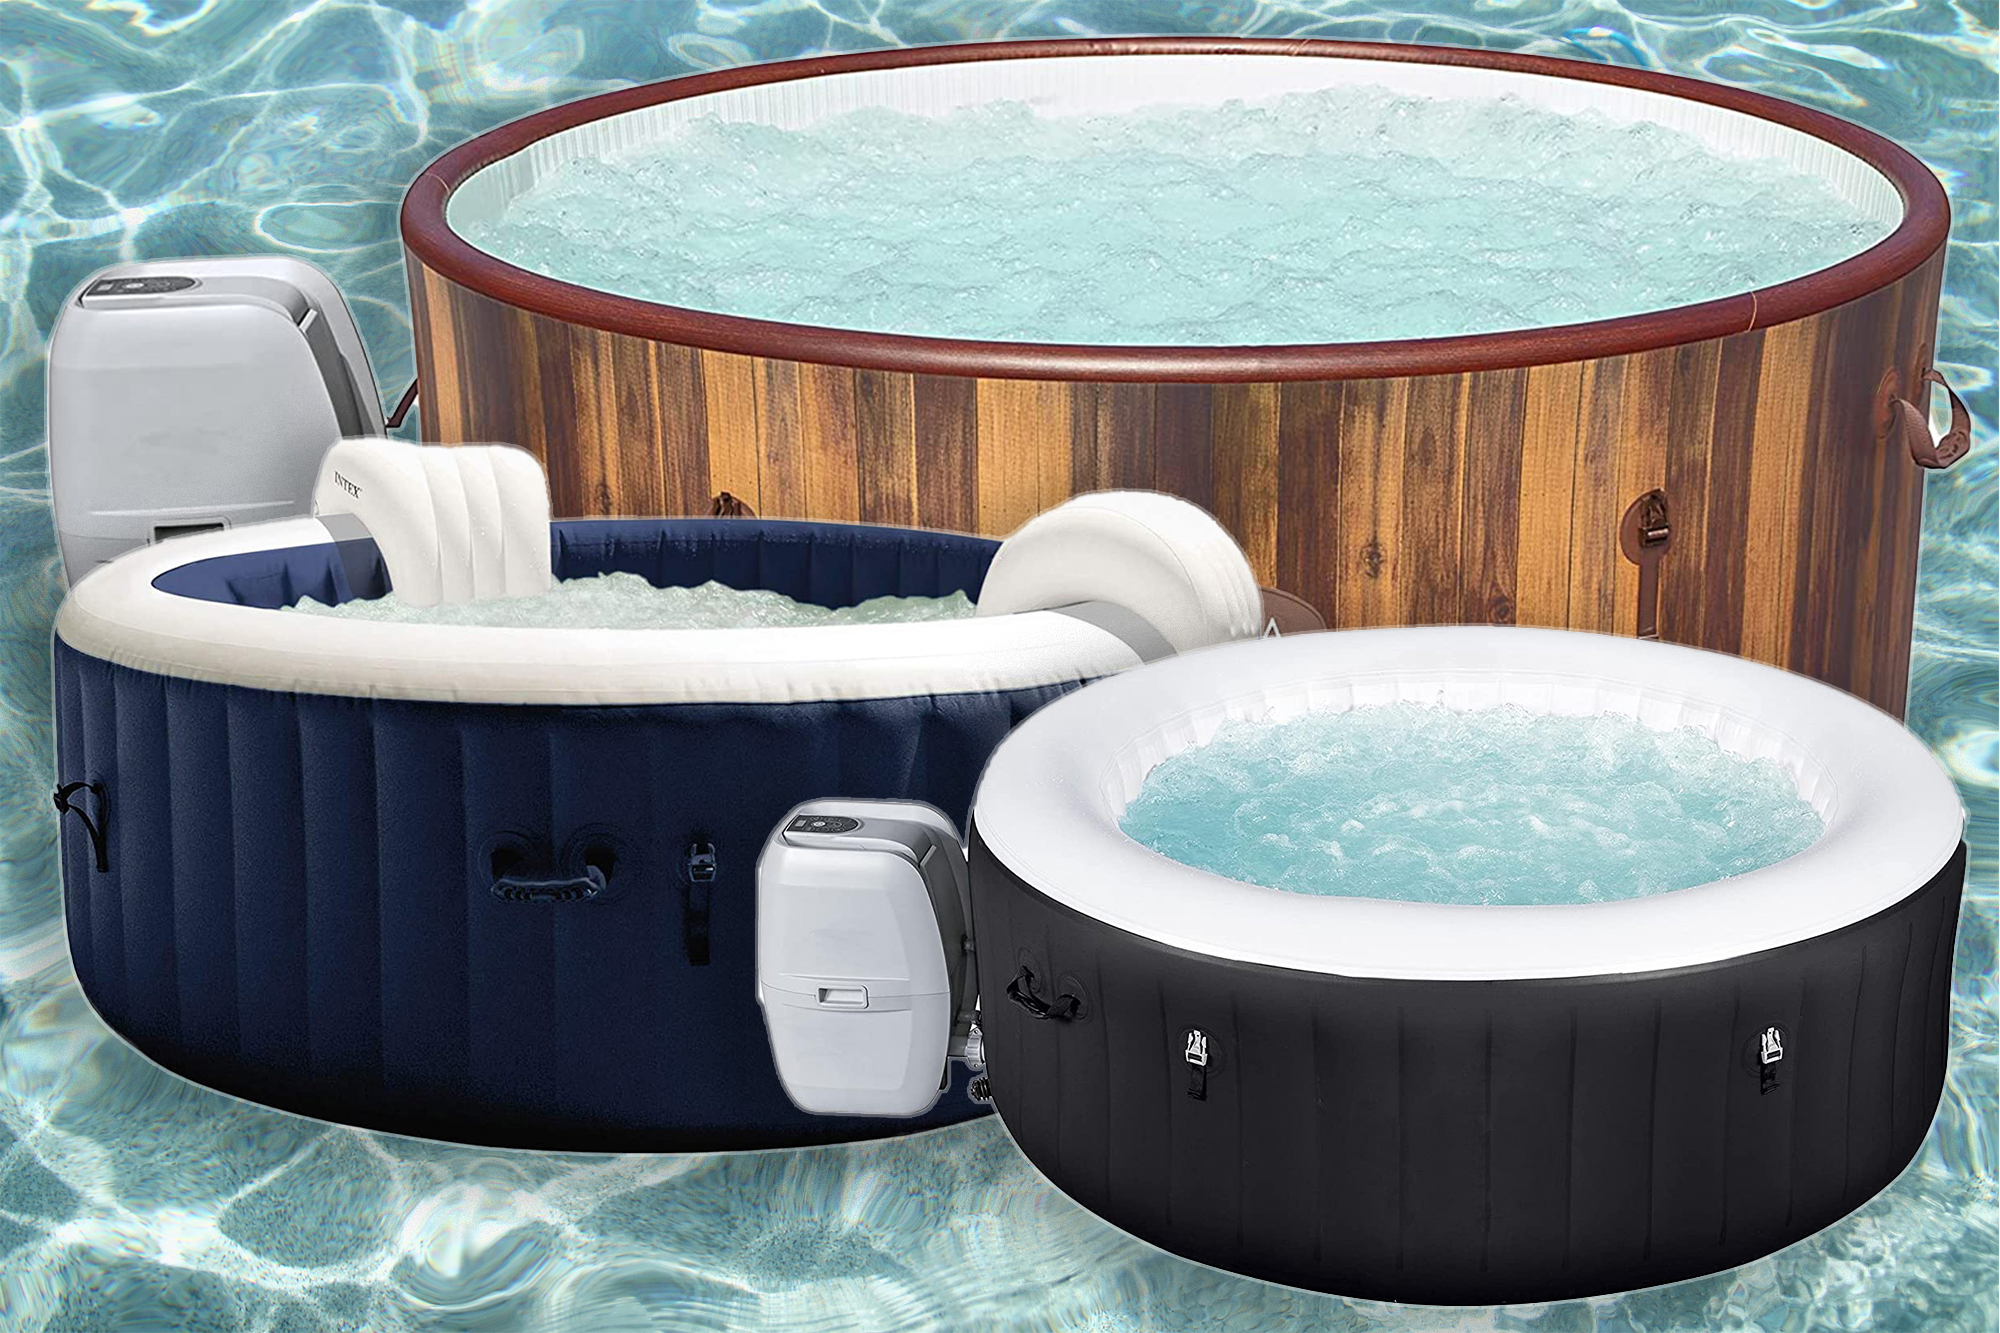
Finding a hole, scratch or crack on your hot tub is a lot like finding a scratch on your new car - it’s disheartening. Even a little damage can be a big disappointment. Fortunately, fixing minor cosmetic damage to the acrylic shell or an inflatable Hot Tub usually isn’t difficult; it might take an hour or two and should require only a few inexpensive and easy-to-find supplies. But rips, cracks and scratches are very important to address. Left untreated, rips and cracks can grow, extending the damage to the layers underneath your shell. Eventually, water can seep into your hot tub’s internal workings.
Here, you’ll discover how to repair hot tub holes, rips and cracks or scratches to stop damage from spreading and extend the life of your spa.
DIAGNOSE YOUR PROBLEM
Before you make an attempt to repair your hot tub, take a close look at the damage. Is it a surface scratch, or a deeper gash into the fiberglass or ABS-backing material beneath? Also, be sure to check if the damage is covered under warranty before taking any action. If you attempt to repair covered damage on your own and fail, the warranty will no longer be valid.
Once you assess the issue, decide if it’s something you feel comfortable repairing.
PREPARE YOUR WORKING AREA AND SUPPLIES
It’s never fun to get halfway through a repair and then realize you lack some of the specific materials you need. Before you start the job, prepare a working area that’s clean and safe, and gather the right tools and materials. Here’s what you’ll need:
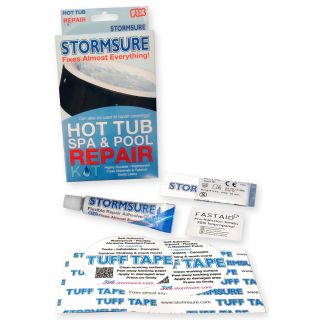
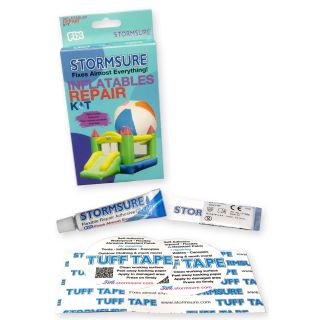
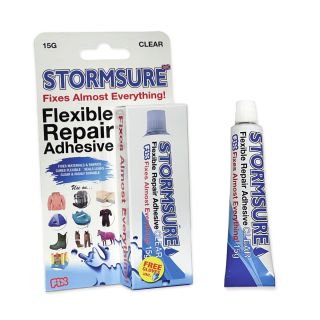
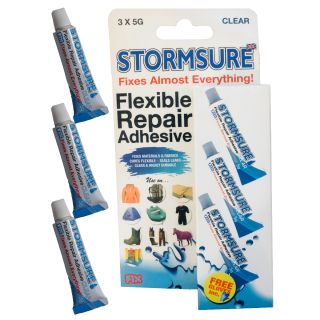
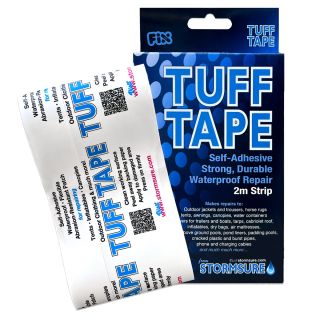
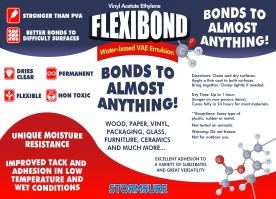
- An Repair Kit. Stormsure has a repair kit specifically designed for your hot tub repair. It contains extra strong polyurethane adhesive, extra strong polyurethane patches, a alcohol wipe and protective gloves.
- A Drill and Rotary Bit. You’ll only need a drill for larger cracks. It should have a rotary bit, so you can grind down the edges of the crack. This is not always neccessary and more repairs will not require a drill.
- Hot Tub Cleaner. As a hot tub owner, you likely have a cleaner from your local dealer on hand. If not, a comparable acrylic cleaning product from a hardware store will do. This is only required if you intent to drain your Hot Tub or if it has already been drained due to the damage.
- A Soft Towel. The softer the towel, the less abrasive it will be to the surface of your hot tub shell. Microfiber towels, like those used in automotive repair, are good examples of low-abrasion towels.
- Sandpaper. You’ll probably be able to repair your shell with the most common sandpaper grains in stock at hardware stores. If you’re looking for a greater degree of control over the results, have a range of grains on hand.
- These supplies should be adequate for repairing holes, rips, scratches and cracks. However, for non inflatable Hot Tubs, if the damage extends to the fiberglass or ABS-backing material beneath the acrylic layer, you’ll need fiberglass repair equipment, as well as protective glasses and gloves.
- Before any repair disconnect it from its power source. Even though you won’t be repairing electrical components, it’s better to be safe than sorry when it comes to water and electricity.
PERFORM YOUR REPAIR
With your tools and materials at the ready, and with your hot tub drained and unplugged, you’re ready to start your repair. Just follow these steps:
- Dry the damaged area with the soft towel.
- Clean the area with your hot tub cleaner. If you’ve got the time, this is a perfect opportunity to clean the rest of your hot tub, too. This will ensure a more sanitary and pleasant work experience.
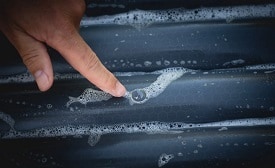
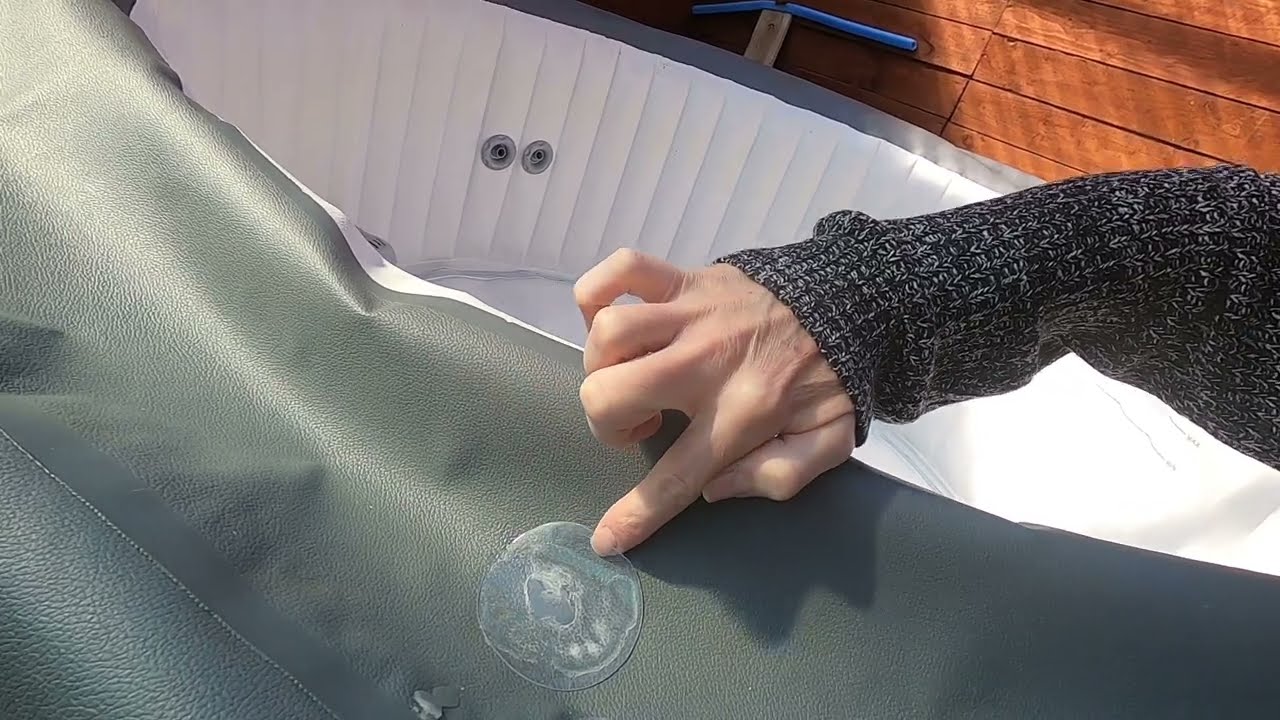
- For smaller holes or rips you simply only need to apply the patches from the repair kit. Place the patch covering not just the hole but a good 2cm around and over the hole area. The with the back of a spoon rub the patch onto the material firmly making sure to get any air bubbles out. It is important that no moisture gets underneath the patch between the patch and the Hot Tub material. If repairing a small hole or scratch, you may not need the whole kit, the patches alone will be good enough but if you want to use the adhesive as well even for pin prick size holes then you can do that also by dabbing some adhesive on top of the hole and leaving to cure.
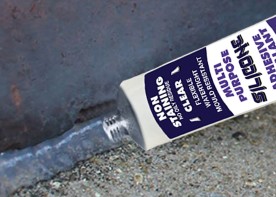
- If it’s a larger rip or crack, then first you may need to smooth any edges with the drill or sand paper and then fill hole and gaps with the adhesive provided. If you are worried about the adhesive falling through the hole then you can use the patch material on the inside so it catches the adhesive and keeps it in place whilst the adhesive cures. You can then put some of the patch material over the top of the adhesive if you wish but normally just the adhesive will do. Don't be shy with the adhesive for larger repairs, give a good covering into and around the damaged area. Because the adhesive is a polyurethane adhesive it has rubbery like qualities when cured so will be durable and flexible and can easily withstand extreme temperatures.
- If using just the patches, then this is an instant repair. The adhesive on the other hand takes 10-12 hours to cure properly so you may need to have something to hold the edges of the rip or crack in place whilst it cures. The adhesive will run also if done virtically so ideally it woulod be best to do the repair with the Hot Tub lying flat.
- Once completely dried, you may wantto clean it up a bitwhich you can do carefully by sanding any edges and also giving the area a good clean again.
- Refill and/or re-inflate your hot tub, checking for any leaks around the repaired area. If you find a leak, you’ll have to drain your spa and start over.
- Enjoy your soak!
Repairing a hole, scratch or crack in your spa is typically a cost affective, quick and relatively simple task. In fact, the part that will likely take the longest is draining and refilling your hot tub. But once it’s refilled, you’re done, and you can spend the rest of the season relaxing in your freshly repaired spa.